How to Set Up Email Accounts On Mac (Apple) Mail client
Note: To complete these steps, you will need to know your email address, password, incoming mail server name, and outgoing mail server name as provided by your Hosting Provider.
- Click on Mail on the dock of your computer.
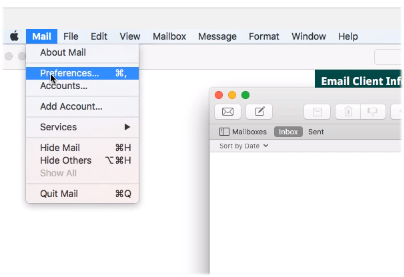
- Click on Mail and select Preferences.
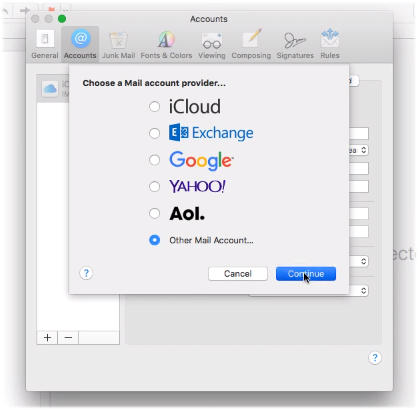
- On the Accounts tab, click +.

- Select the Other Mail Account… option and click Continue.
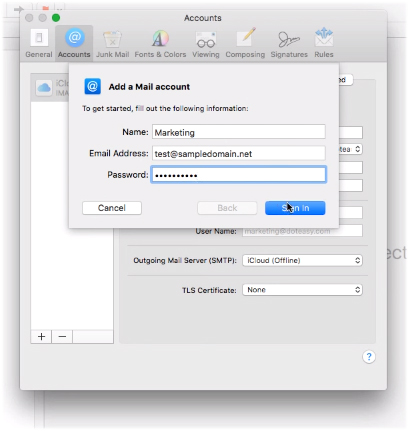
- Enter your Name, domain email address and password. When ready, click Sign In.
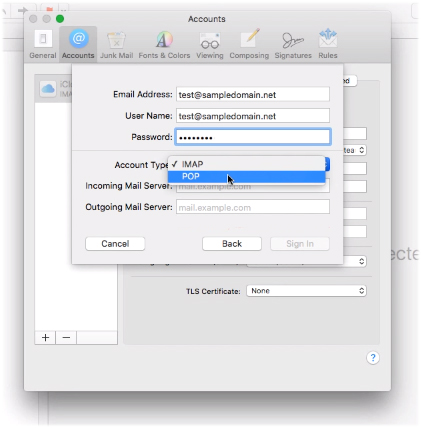
- On the next screen, enter your domain email account username. Your domain email account username is the same as your domain email address.
-
From the Account Type drop-down menu, select the desired protocol: IMAP or POP. We recommend IMAP.
-
Under Incoming Mail Server: mail.yourdomainname
-
Under Outgoing Mail Server: mail.yourdomainname
- When ready, click Sign In.
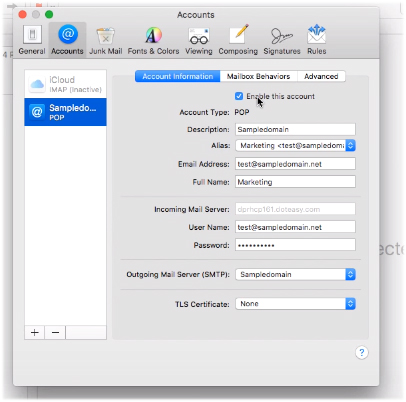
11.Your domain email account is now added to your Mac Mail client. Make sure the Enable this account option is checked.
-
On the Advanced tab, check the port (143 for IMAP) and ensure the SSL option is unchecked.
-
When ready, close the window and save your new settings.
-
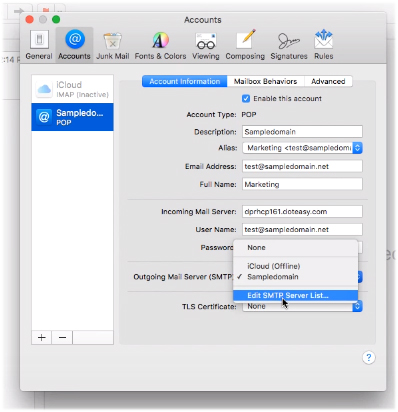
Next, you will need to configure the outgoing mail settings. Open the account information tab.
-
From the Outgoing Mail Server (SMTP) drop-down menu, select Edit SMTP Server List
-
On the Advanced tab, set the port to 3666 and uncheck SSL options.
- When ready, click OK.